


Written by: Ella Carpenter
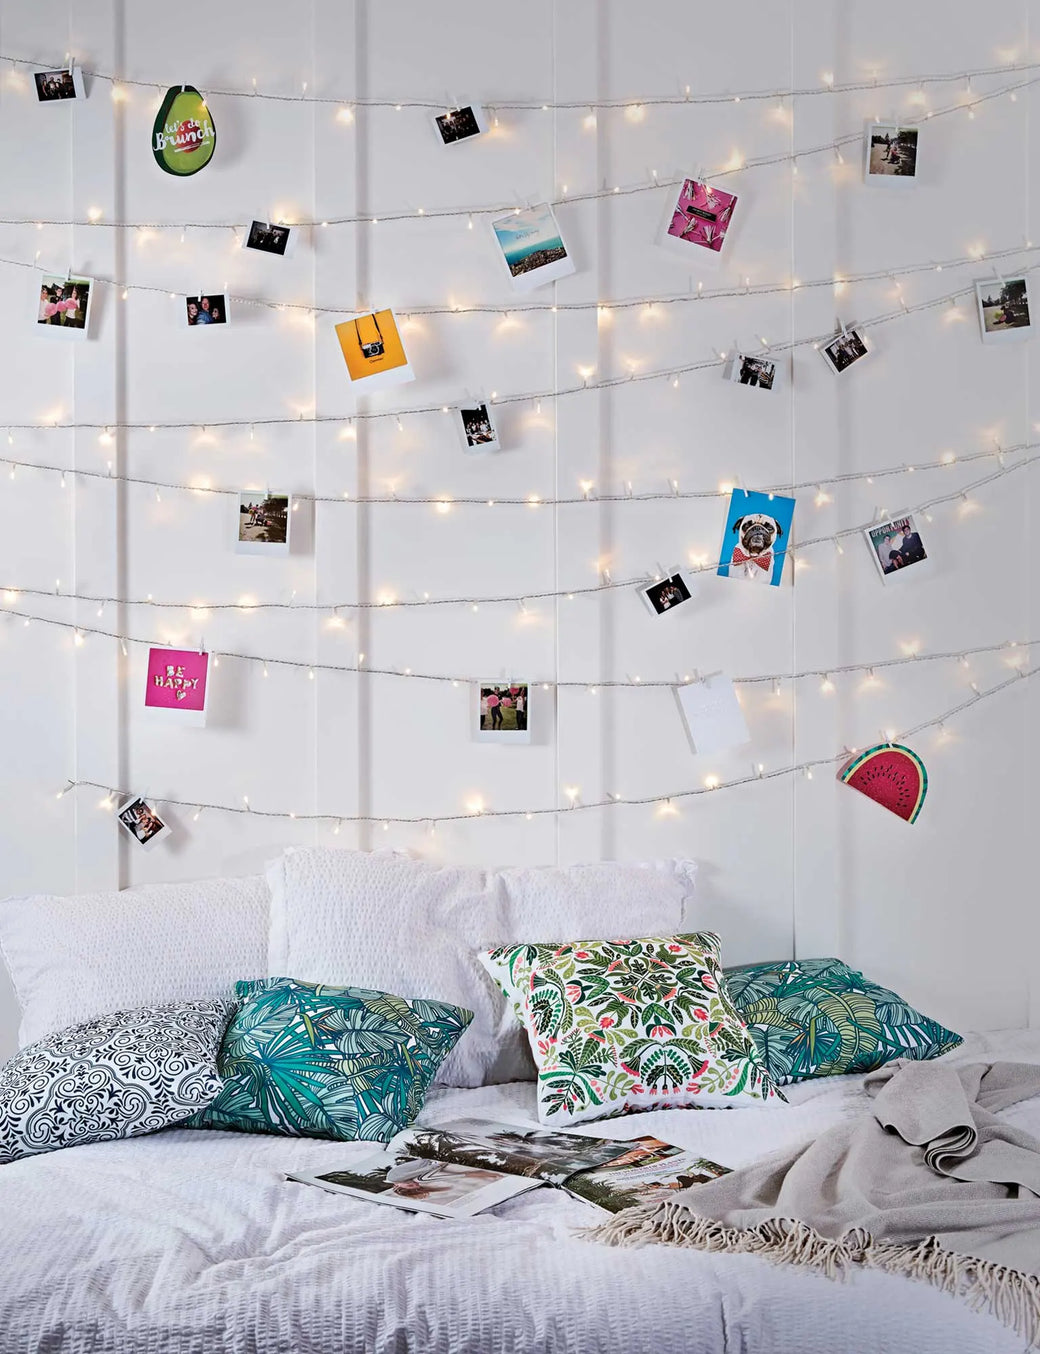
Looking for exciting bedroom fairy light ideas, you're in the right place! We created this photo wall purely as a test and stumbled across something great! So we've popped a super easy guide for you to have a go too.
There's no need to be a DIY expert or creative crafter, it's so simple to create your own fairy light wall in a matter of moments! Who knew it could be so easy to transform bedroom fairy lights into a magical photo memory. It's the ideal place to pin up your favourite postcards, hang anything from polaroids to birthday cards and illuminate them at the same time. Follow our four steps and share yours using @lights4fun!

Fairy lights
Small pegs
Nails
A hammer
A pencil
Choose a wall in your bedroom that is yearning for that extra sparkle! Lightly mark with a pencil where you're nails will go, it doesn't have to be perfect. We've used six nails in total to create this look.
Once you’re happy with where the nails will be, use a hammer to lightly fix them into the wall - watch your fingers!
Begin to drape your fairy lights from side to side, weaving your lights back and forth over each nail.
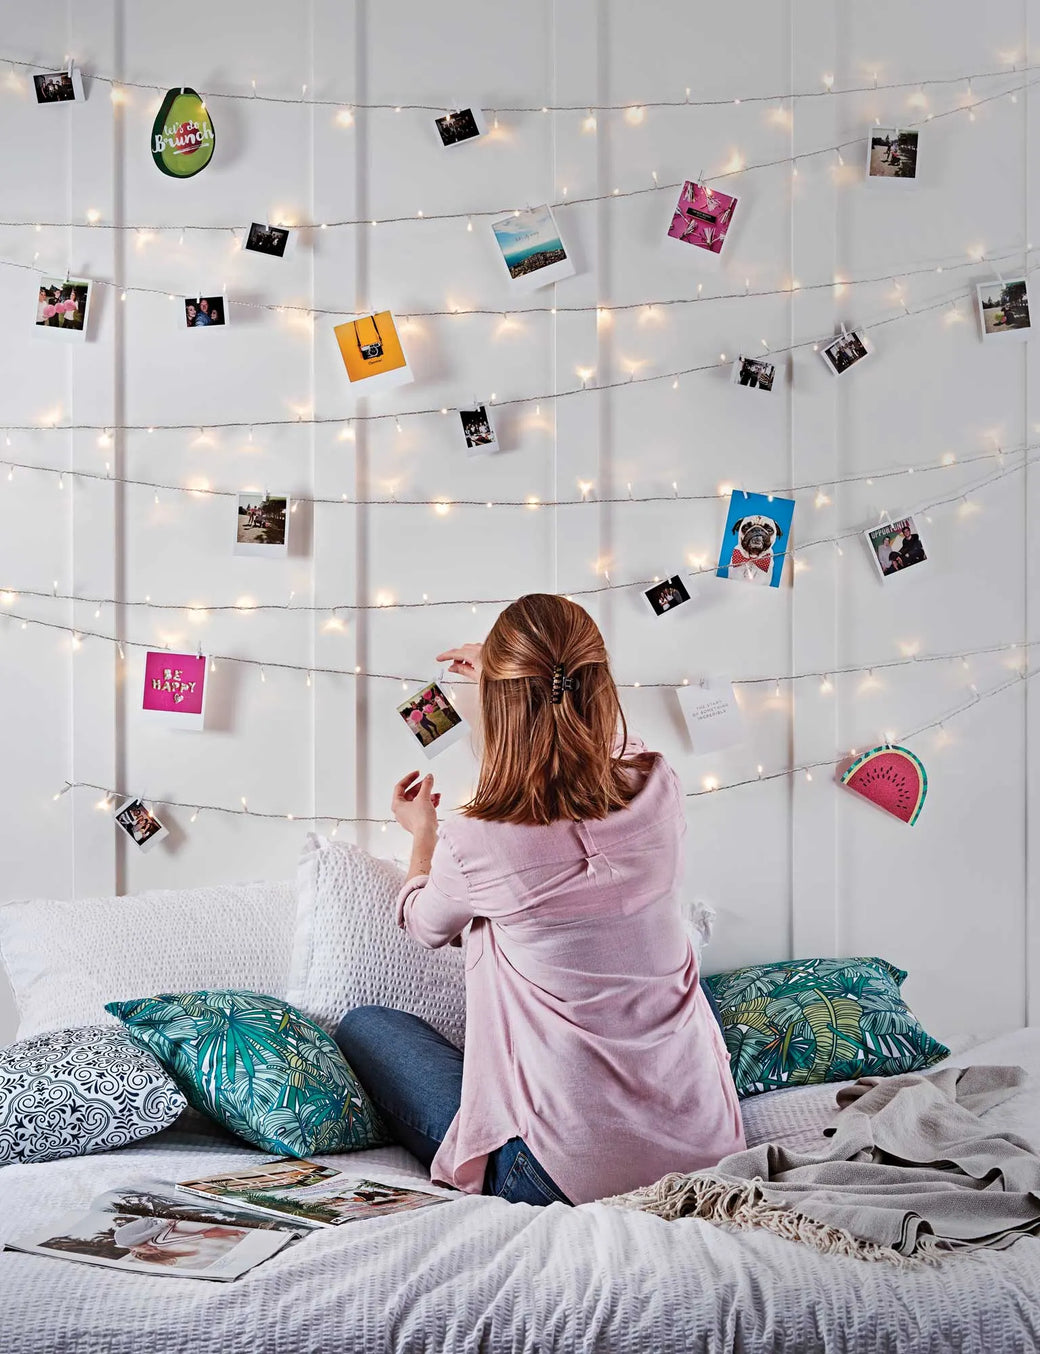

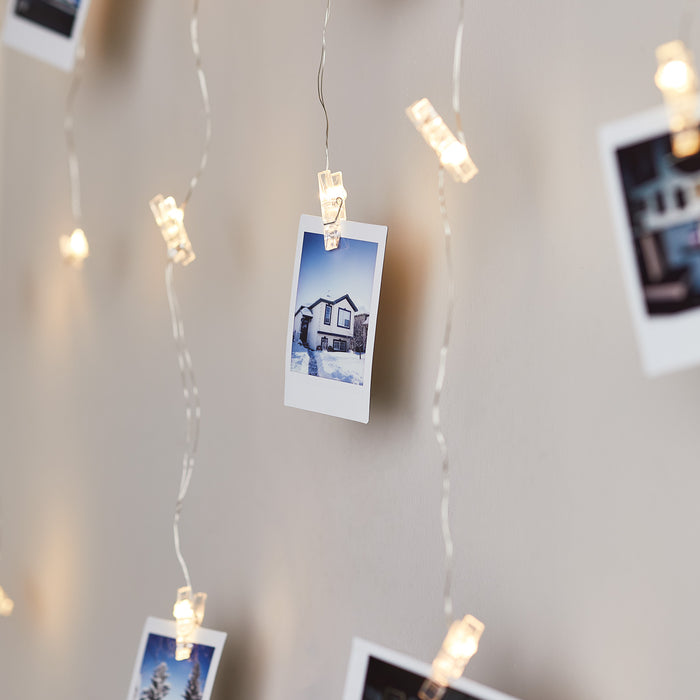
Once you're pleased with the arrangement of your lights, it's time for the finishing touch! Use the pegs to hang your photos or cards onto the fairy lights.

Please select your shipping location to continue to our online store.
Enter a search term to begin


Spend £60 more for free delivery!
Your bag is currently empty.