



Written by: Jason Hunter
The pumpkin is a symbol of the autumn season, so there’s no better decoration to prepare your home for the Halloween festivities. Even better, carving pumpkins is an exciting activity that can involve the whole family. If you’re looking to create special spooky memories this year, consider welcoming trick-or-treaters with your very own DIY pumpkins. Take a look at Lights4fun’s guide on how to carve a pumpkin and elevate your Halloween decorations today.
Let’s start from the very beginning. Here’s a list of things worth gathering together to best prepare your pumpkin:
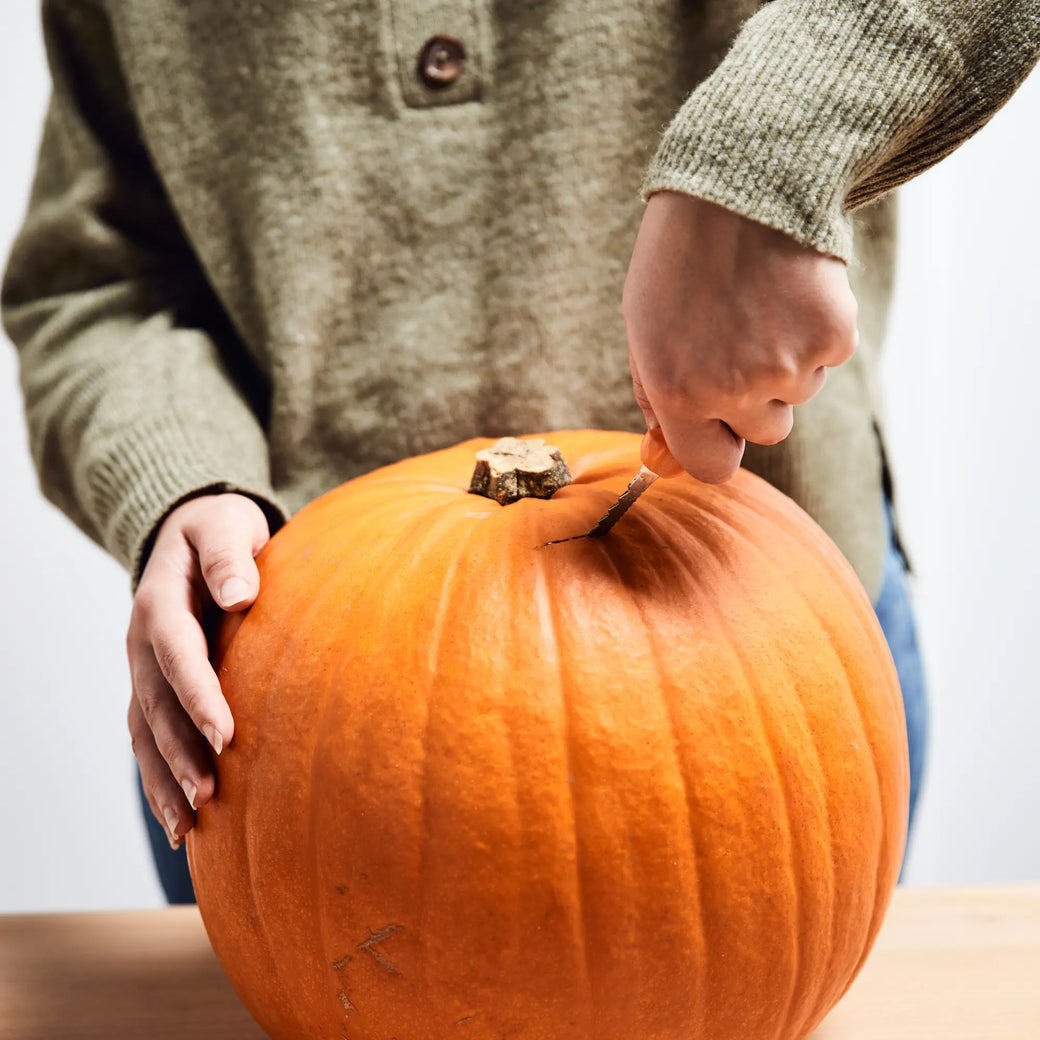
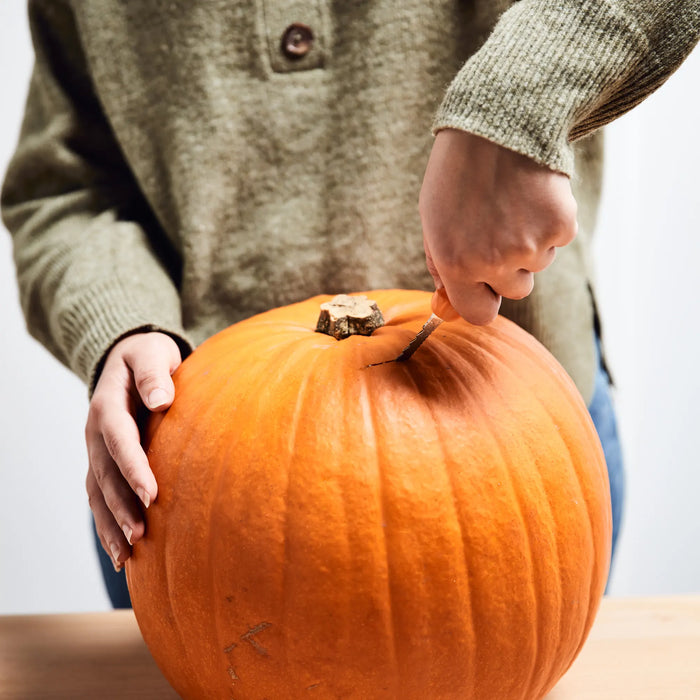
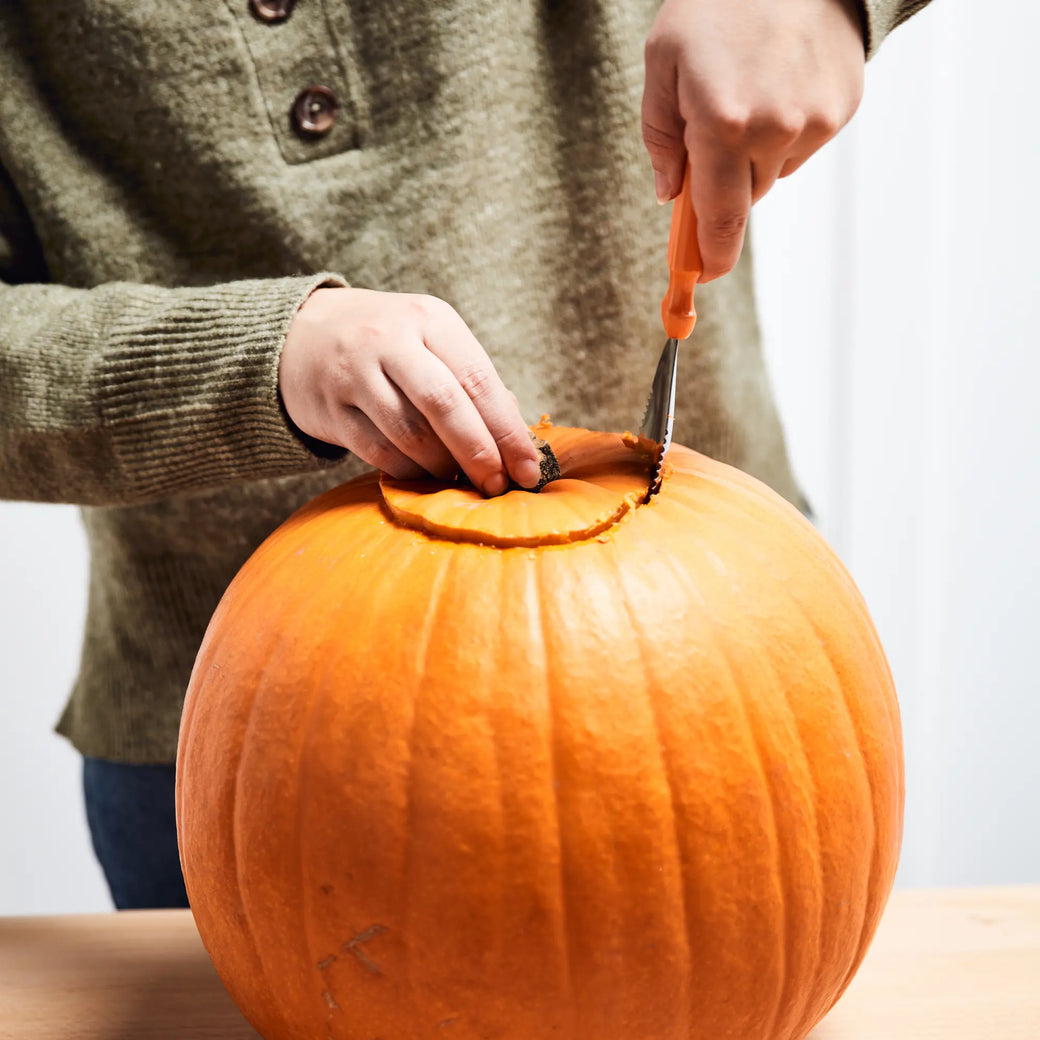
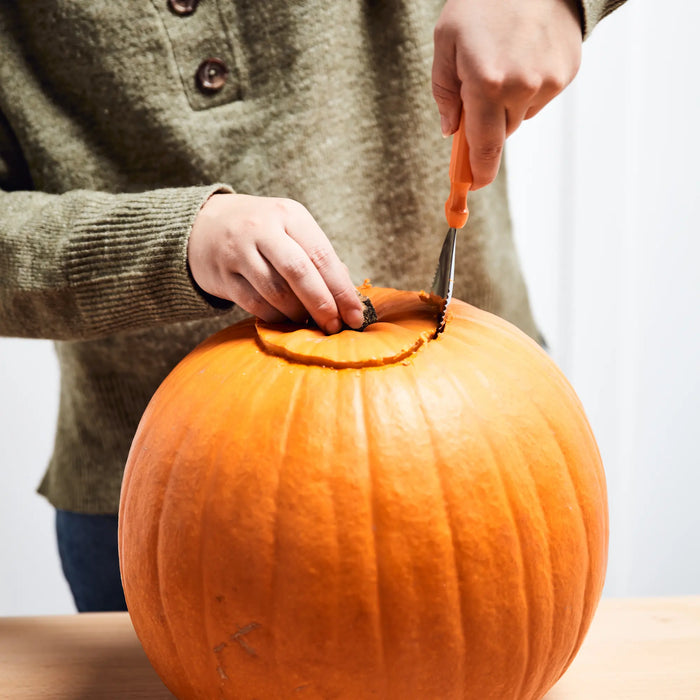
With your pumpkin on a stable surface, cut a circular hole around its stem, making sure that you angle the cutting tool inward. This is best left to adults, as it can be tricky and messy!
Once cut, lift out the circular section surrounding the stem to reveal the inside of the pumpkin. Now, using the wooden spoon, scoop all the seeds out and into your bowl.
Using the thick marker pen, outline your spooky design on the side of the pumpkin. Don’t be afraid to experiment with all sorts of creative and creepy ideas!
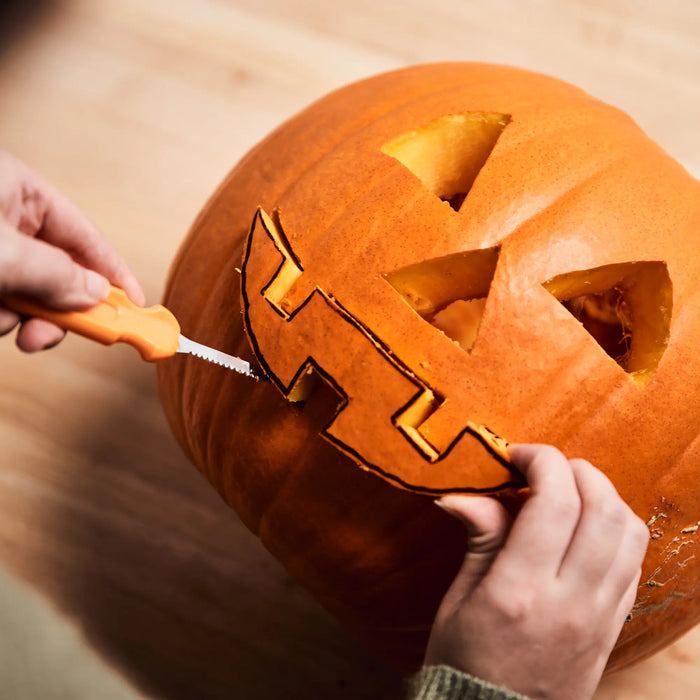
Using the cutting tool, follow your outline, making sure you cut through the whole pumpkin. Once cut, pop out the sliced sections to reveal your pumpkin's face!
All there is to do now is pop the battery-operated candle or fairy lights inside, put the lid back on… et voilà! Your perfect pumpkin is ready to give your trick-or-treaters and guests a spooky surprise this Halloween!


The designing possibilities don’t end with carving. How you light your pumpkin is just as important as its shape. We always recommend opting for an LED light and avoiding genuine candles, which can create smoke and dry out the pumpkin skin. Here are some lighting styles worth considering:
Carved pumpkins typically last between three and five days once carved. We recommend carving them just in time for Halloween, so they’re in peak condition for the big day.
Experienced pumpkin carvers often recommend carving your pumpkin from the bottom. This way, you can keep your stem intact, hide the cut from the view of visitors and place your pumpkin directly over a candle. Cutting from the top, however, helps maintain your pumpkin’s structural integrity – meaning that the pumpkin doesn’t have to rest on its edges.
Now that you’re all informed on how to carve a pumpkin, it’s time to prepare your home for the spooky season. So, get the whole family together and design your very own pumpkins, illuminated by Lights4fun’s collection of Halloween lights.

Please select your shipping location to continue to our online store.
Enter a search term to begin


Spend £70 more for free delivery!
Your bag is currently empty.